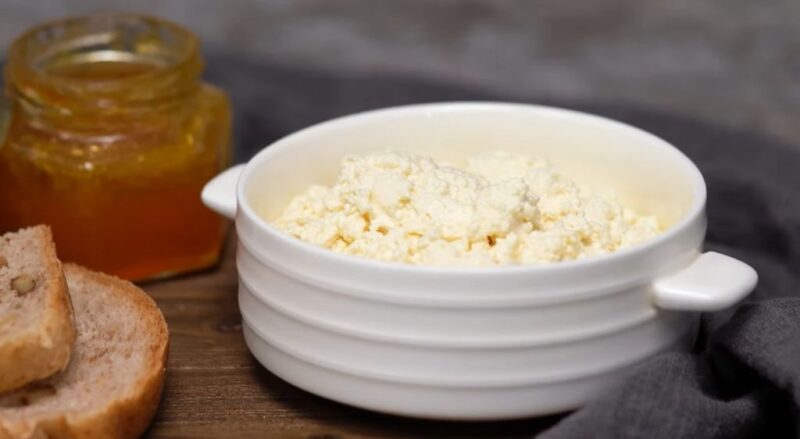
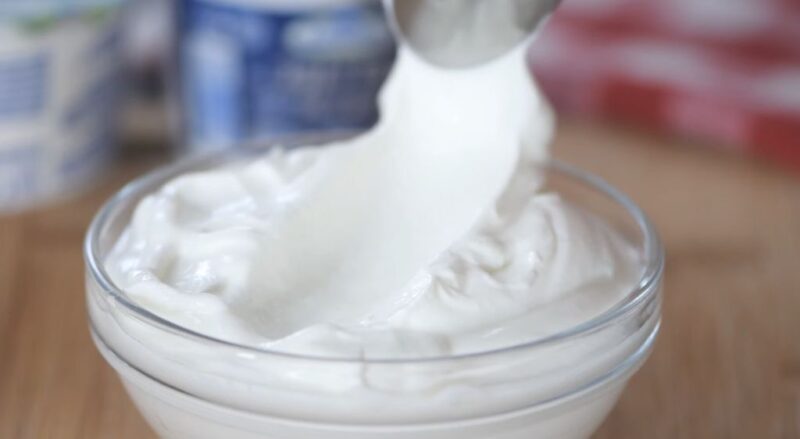
I love cottage cheese, it’s such a versatile ingredient. I use it in a variety of dishes, from salads to desserts. But did you know that you can make it at home?
While you’re exploring homemade delights, have you ever thought about turning often-discarded peach peels into delicious jelly? It’s another sustainable choice that pairs wonderfully with fresh cottage cheese.
In this comprehensive guide, we’ll provide you with step-by-step instructions, tips, and insights. We’ll go through the simple process of making this product at home. By the end of the article, you’ll be well-equipped to make your own batch of fresh, delicious cottage cheese. Let’s get to work!
Necessary Ingredients and Equipment
| Necessary Ingredients | Equipment |
|---|---|
| Milk | Large Pot |
| Acid (Vinegar or Lemon Juice) | Thermometer |
| Salt | Long Knife or Curd Cutter |
| Cream (optional) | Colander |
| Cheesecloth |
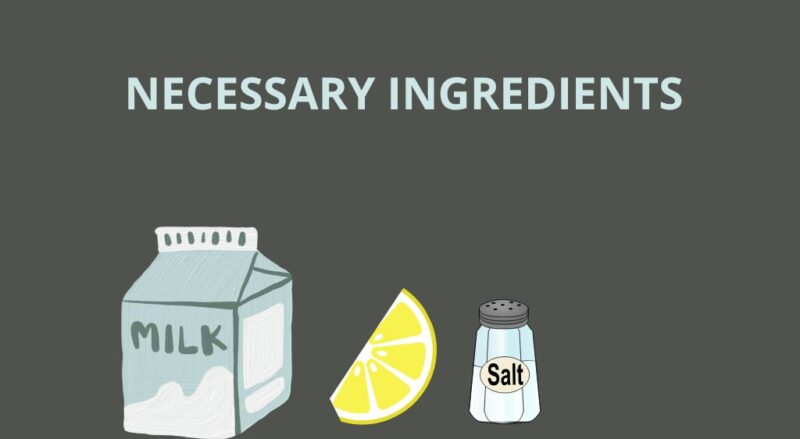
Making cottage cheese at home requires just a few simple ingredients: milk, an acid (like vinegar or lemon juice), and salt. You can also add cream for a richer, creamier texture. The type of milk and acid you choose can affect the flavor and texture of your cheese, so it’s worth experimenting with different options to see what you like best.
You’ll also need some basic kitchen equipment: a large pot, a thermometer, a long knife or curd cutter, a colander, and cheesecloth.
The pot is for heating the milk, the thermometer is to ensure you heat the milk to the correct temperature, the knife or curd cutter is for cutting the curds, the colander is for draining the whey, and the cheesecloth is for catching the curds and allowing the whey to drain away.
Choosing the Right Milk

The type of milk you use can greatly affect the taste and texture of your product. Whole milk will give you a richer, creamier product, while skimmed or semi-skimmed milk will result in a lighter, less creamy cheese. The fat in the milk contributes to its richness and creaminess, so if you prefer a richer cheese, go for whole milk.
It’s also important to use fresh, high-quality milk. Avoid ultra-pasteurized milk, as it doesn’t curdle as well. If you can get your hands on raw milk, it will give your cheese a wonderful depth of flavor. However, if raw milk isn’t available or if you’re concerned about food safety, pasteurized milk will work just fine.
| Milk Type | Taste and Texture | Fat Content | Curdling Ability | Availability |
|---|---|---|---|---|
| Whole Milk | Richer, Creamier | High | Good | Widely Available |
| Skimmed Milk | Lighter, Less Creamy | Low | Moderate | Widely Available |
| Semi-Skimmed Milk | Light, Creamy | Medium | Moderate | Widely Available |
| Ultra-Pasteurized Milk | Less Creamy | Varies | Poor | Commonly Available |
| Raw Milk* | Wonderful Depth of Flavor | Varies | Excellent | Limited Availability |
Note: Raw milk availability varies by location and may be subject to legal restrictions.

Now that we’ve covered the basics, let’s get into the cheese-making process. Don’t worry, it’s simpler than you might think! The process involves a few key steps: heating the milk, adding the acid to curdle it, cutting the curds, cooking them, and finally draining the whey.
Each step is crucial to the final product, and while the process requires some patience, it’s not overly complicated and requires careful attention to ensure the best results, but don’t worry – we’ll guide you through each one.
1. Heating the Milk
Start by pouring your milk into a large pot. Heat it slowly over medium heat until it reaches a temperature of around 120°F (49°C). Stir the milk gently as it heats to prevent it from scorching on the bottom of the pot. This is important because scorched milk can give your cheese an unpleasant, burnt flavor.
It’s important to heat the milk slowly and not let it boil. Boiling can cause the proteins in the milk to denature, which will affect the texture of your cheese. Instead, aim for a gentle heat that brings the milk up to temperature gradually. This will help ensure that your milk curdles properly and that your cheese has the right texture.
2. Curdling the Milk
Once the milk has reached the right temperature, it’s time to add the acid. This will cause the milk to curdle, separating into curds and whey. The curds are the solid parts that will become your product, while the whey is the liquid that will be drained off.
The type of acid you use can affect the overall flavor. Vinegar will give a neutral flavor, while lemon juice will give a slight tang. You can experiment with different types of acid to see which flavor you prefer.
3. Adding the Acid
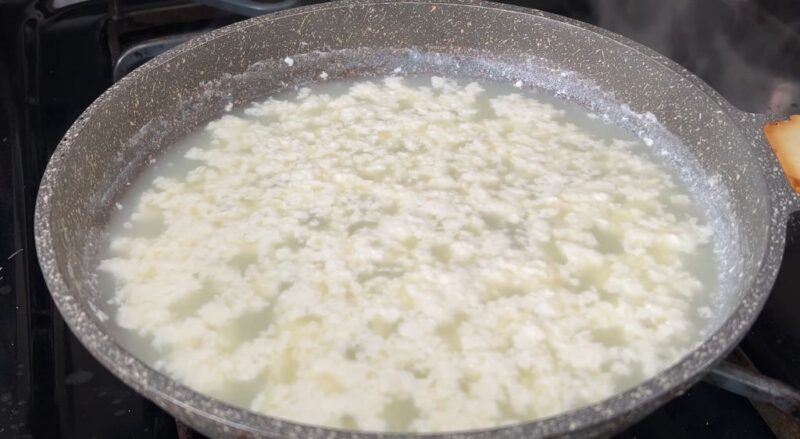
Slowly add your acid to the heated milk, stirring gently as you do so. You should start to see the milk curdle almost immediately, with small, white curds forming. This is a fascinating process to watch, as the milk transforms from a homogeneous liquid into a mixture of solid curds and liquid whey.
Once all the acid has been added, remove the pot from the heat and let it sit for about an hour. This will allow the curds to fully form and the whey to separate. This resting period is important, as it allows the curdling process to complete and ensures that you get the maximum yield of curds from your milk.
4. Cutting and Cooking the Curds
After the curds have formed, it’s time to cut them. This helps to expel more whey and gives the cottage cheese its characteristic small-curd texture. Cutting the curds is a delicate process that requires a gentle touch, as you don’t want to crush the curds, but rather cut them into small, even pieces.
Then, you’ll cook the curds gently to firm them up and expel even more whey. This step is crucial to achieving the right texture. The curds need to be cooked just enough to firm up, but not so much that they become tough or rubbery.
Cutting the Curds
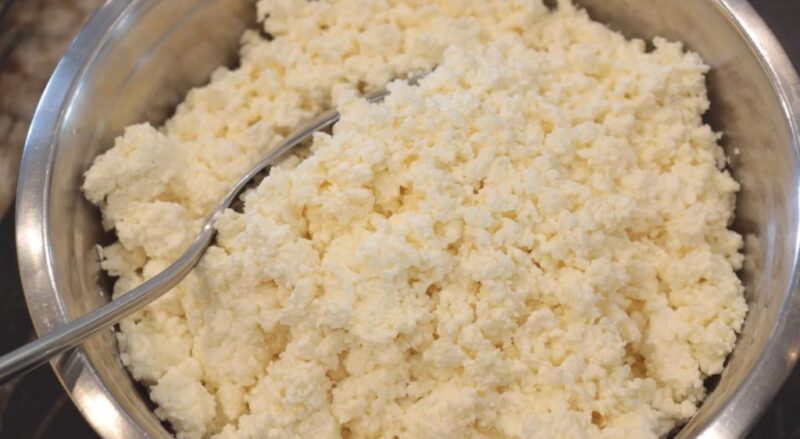
Using a long knife or curd cutter, cut the curds into small pieces. Try to make the pieces as uniform as possible, but don’t worry if they’re not perfect. The goal is to create small, even curds that will cook evenly. After cutting, let the curds sit for a few minutes to firm up.
Then, slowly heat them to about 105°F (40°C), stirring gently. This gentle cooking process helps to firm up the curds and expel more whey, resulting in a firmer, drier cheese.
5. Draining the Whey
Once the curds have been cooked, it’s time to drain the whey. This is what will leave you with the solid, creamy curds that make up cottage cheese. Draining the whey is a simple process, but it requires some patience, as it can take a few hours for all the whey to drain off.
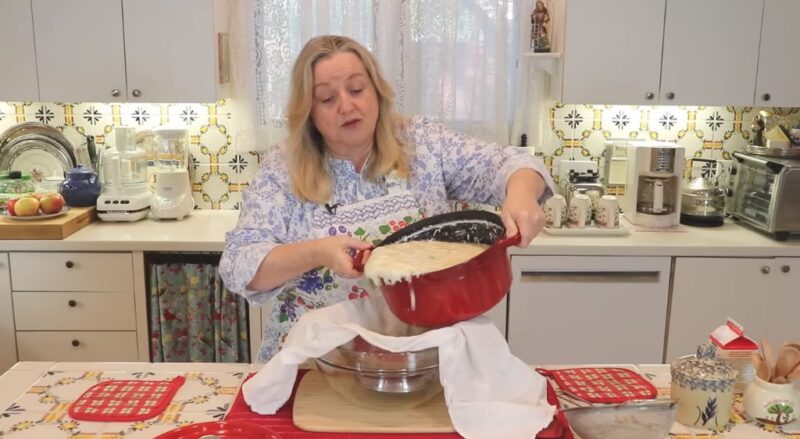
You’ll need a colander and some cheesecloth for this step. The colander provides a structure for the curds to sit in, while the cheesecloth catches the curds and allows the whey to drain away.
Draining the Curds
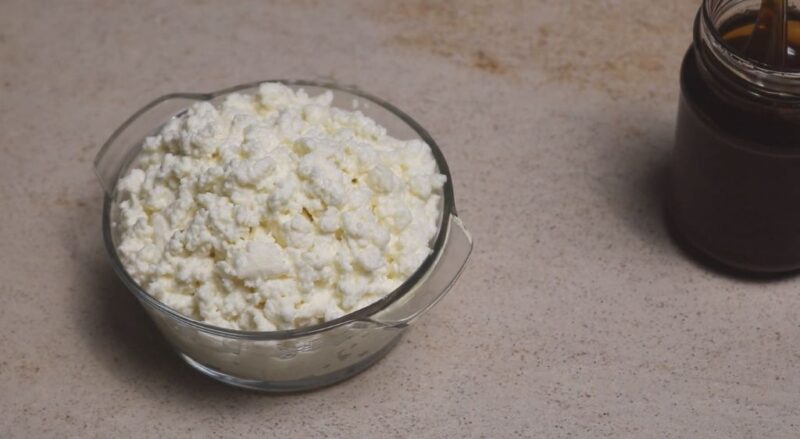
Line a colander with cheesecloth and pour the curds and whey into it. Let the whey drain off for a few hours until the curds are at your desired consistency. The longer you let the curds drain, the drier your cottage cheese will be.
If you prefer a creamier cheese, you can stop the draining process earlier. Remember, the longer you drain the curds, the drier your product will be. If you prefer a creamier cheese, you can add some cream at this stage. Simply stir in a few tablespoons of cream until the cheese reaches your desired consistency.
6. Seasoning and Storing
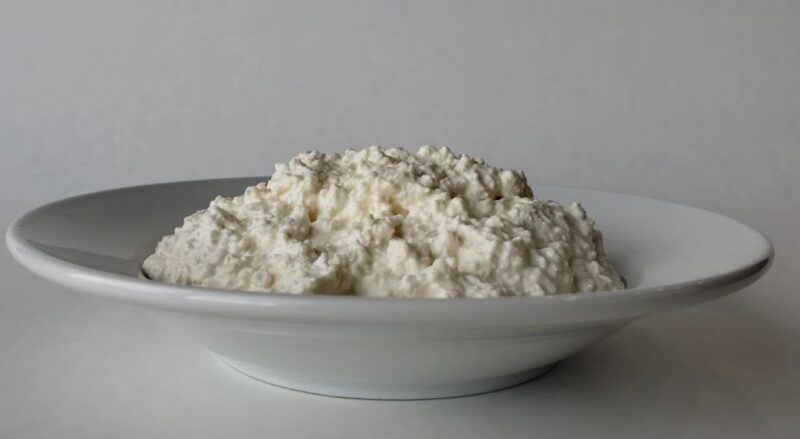
Finally, it’s time to season your product. Most people simply use salt, but feel free to get creative with herbs and spices. The mild flavor of cottage cheese makes it a great canvas for a variety of flavors, so don’t be afraid to experiment.
Once seasoned, the product is ready to eat! You can also store it in the fridge for up to a week. Just be sure to store it in an airtight container to keep it fresh.
Seasoning Your Cheese
Add salt to your drained curds and stir gently to combine. Taste it and add more salt if needed. The amount of salt you add is entirely up to you, but remember that this type of cheese is typically a bit on the salty side, so don’t be shy about the salt.
If you’re feeling adventurous, you can also add herbs, spices, or even fruit. Some people like to add a bit of sugar and some fresh berries for a sweet treat, while others prefer to add fresh herbs and garlic for a savory snack. The possibilities are endless, so feel free to get creative!
How to store it?
Store your homemade cheese in an airtight container in the fridge. It will keep for up to a week. Remember to store it in the coldest part of your fridge (usually the back) to keep it as fresh as possible.
Remember, homemade cottage cheese doesn’t contain any preservatives, so it won’t last as long as store-bought versions. But with its fresh, creamy flavor, it’s unlikely to last that long anyway! Just be sure to check it for signs of spoilage (like an off smell or mold) before eating.
What could be some Common Problems?
Making this product at home is a relatively simple process, but like any culinary endeavor, it can sometimes go awry. Here are some common problems and how to fix them. Whether your milk isn’t curdling properly, your curds are too soft or too hard, or your cheese is too dry or too wet, there’s usually a simple solution.
The Milk Isn’t Curdling
If your milk isn’t curdling after you’ve added the acid, it could be that the milk is too hot or too cold. The ideal temperature for curdling is around 120°F (49°C). If the milk is too hot, it can denature the proteins and prevent them from curdling properly. If it’s too cold, the acid won’t be able to curdle the milk effectively.
It could also be that you’re not using enough acid. Try adding a little more and see if that helps. Different types of milk may require different amounts of acid to curdle, so don’t be afraid to adjust the amount of acid if needed.
The Curds Are Too Soft or Too Hard
The texture of your curds can be affected by several factors. If they’re too soft, it could be that you’re not cooking them long enough or at a high enough temperature. The heat helps to firm up the curds and expel more whey, so if your curds are too soft, try cooking them a bit longer or at a slightly higher temperature.
If they’re too hard, it could be that you’re cooking them for too long or at too high a temperature. Overcooking the curds can cause them to become tough and rubbery. It could also be that you’re not using enough milk fat. Whole milk will give you softer, creamier curds, while skimmed or semi-skimmed milk will result in harder curds.
Creative Ways to Use the Cheese
Now that you’ve made your own product, you might be wondering what to do with it. The good news is that cottage cheese is incredibly versatile and can be used in a variety of dishes. Whether you prefer sweet or savory, there’s a recipe out there for you.
Sweet and Savory Ideas

For a sweet treat, try adding some honey and fresh fruit to your cottage cheese. It’s a delicious, healthy dessert that’s perfect for a hot summer day. You can use any type of fruit you like – berries, peaches, and pineapple all work well.
On the savory side, it can be used in salads, spread on toast, or even added to pasta dishes. Try mixing it with some fresh herbs and spreading it on a slice of crusty bread for a quick, easy lunch. Or, stir it into hot pasta along with some fresh vegetables for a creamy, satisfying dinner.
Can It Be Used in Baking?
Cottage cheese is a great ingredient in baking. It can be used to make cheesecakes, muffins, pancakes, and more. It adds a rich, creamy texture to baked goods, and its mild flavor works well with a variety of other ingredients.
Try substituting the cheese for some of the fat in your recipes. It will give your baked goods a moist, tender texture and a subtle, tangy flavor. Plus, it’s a great way to add some extra protein to your baked goods.
FAQs:
How do I store homemade cottage cheese?
Store the product in an airtight container in the refrigerator for up to 4-5 days.
Is making cheese a sustainable choice compared to buying it from stores?
Yes, making this product at home reduces packaging waste and promotes sustainability.
Can I use it as a substitute for ricotta in recipes?
Yes, cottage cheese can be used as a substitute for ricotta in various dishes like lasagna or stuffed pasta.
Is it suitable for lactose-intolerant individuals?
Homemade products made from non-dairy milk alternatives can be lactose-free options.
Can I freeze it for later use?
While freezing is possible, the texture of the cheese may change upon thawing. It’s best consumed fresh.
Conclusion
Making cottage cheese at home is a fun and rewarding process. Not only do you get a fresh, delicious product, but you also gain a deeper understanding of the whole process. With a little practice, you’ll be able to customize your cheese to your liking, experimenting with different types of milk, acids, and seasonings.
So why not give it a try? With this guide, you have all the information you need to make a delicious, homemade delight. Enjoy the process, and enjoy the cheese! –